Welcome to Custom Algorithms! This powerful feature gives you total control over your Amazon PPC automation. You can now build and deploy custom automation rules to adjust your bids based on your specific performance goals.
Follow this step-by-step guide to create, configure, and activate your first custom algorithm.
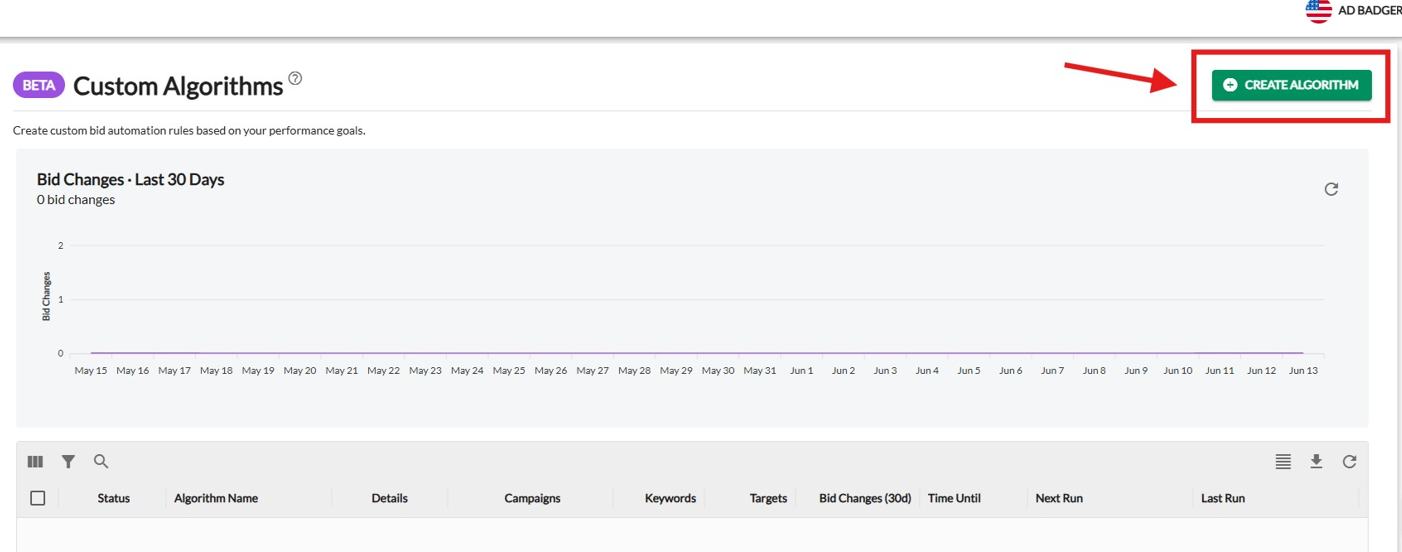
Step 1: Start the Creation Process
-
Navigate to the Custom Algorithms tab in your dashboard.
-
Click the green + Create Algorithm button located in the top-right corner of the page.
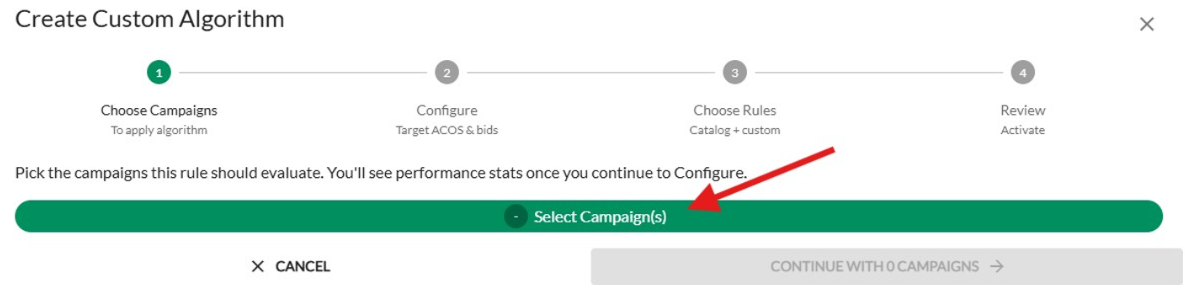
Step 2: Choose Your Campaigns
Before setting your rules, you need to select which campaigns the algorithm will evaluate.
-
Click on the green Select Campaign(s) bar.
-
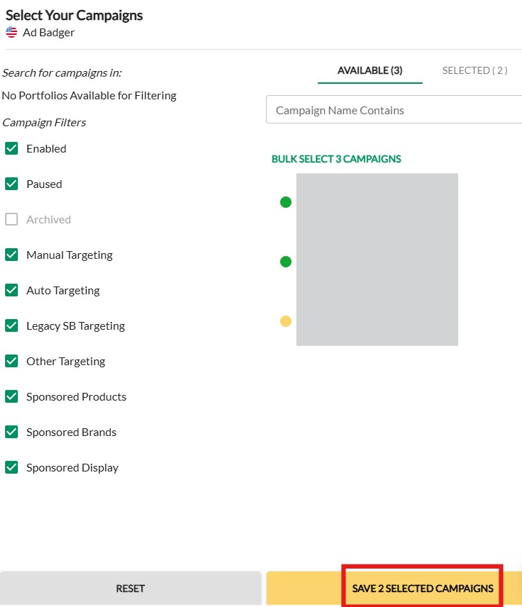
In the pop-up window, use the filters on the left (e.g., Status, Targeting Type, Ad Product) to find your desired campaigns.
-
Check the boxes next to the campaigns you want to include, then click Save Selected Campaigns.
-
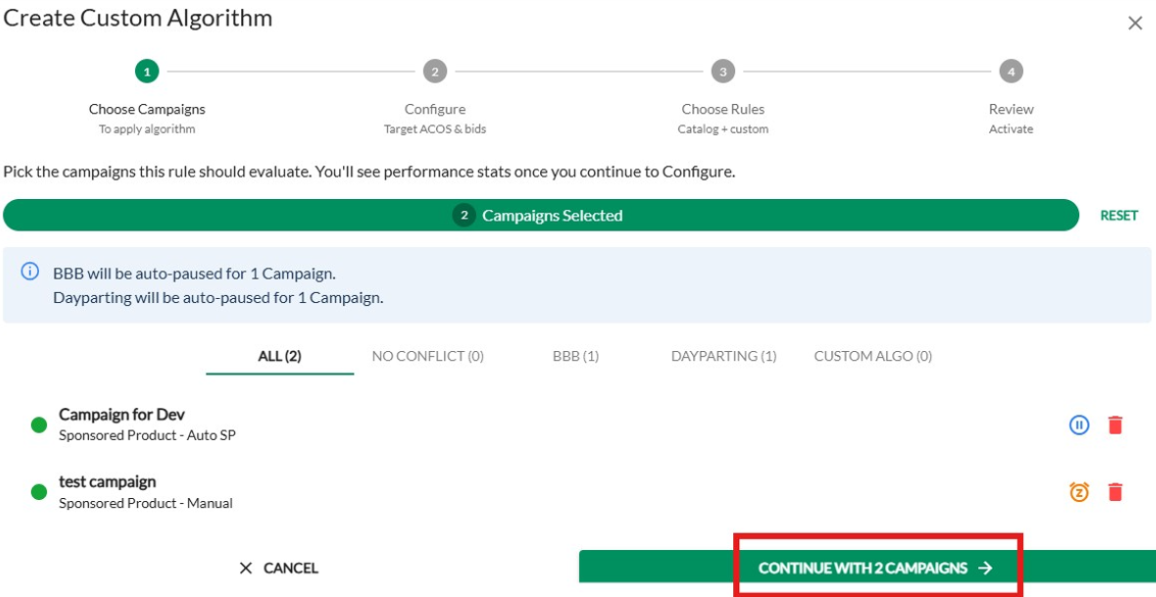
Review your selection on the summary screen.
⚠️ Note: If a selected campaign is already using other automation features like BBB (Bids by Badger) or Dayparting, those features will be auto-paused for that campaign to avoid conflicts.
-
Click Continue with [X] Campaigns.
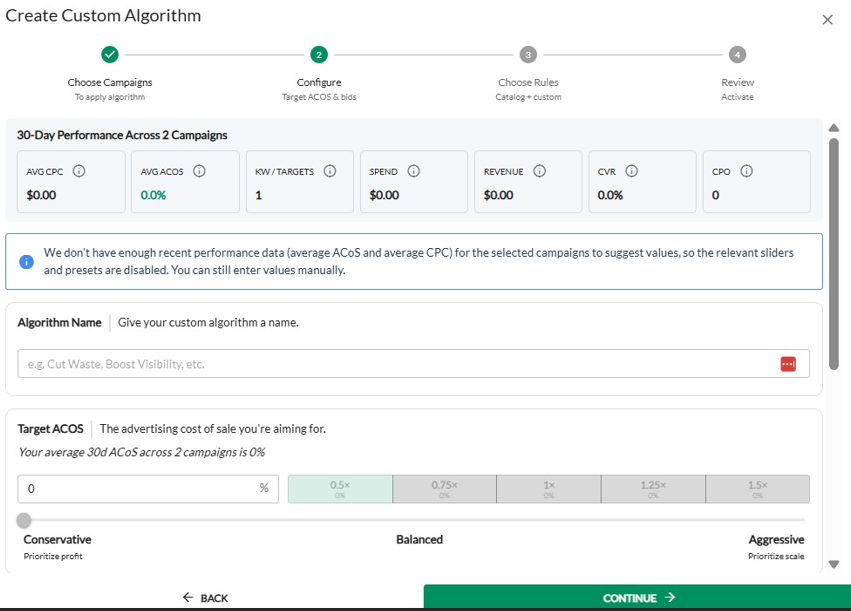
Step 3: Configure Target ACoS and Bids
Next, establish the guardrails and targets for your algorithm.
-
Name Your Algorithm: Enter a clear, descriptive name (e.g., Cut Waste, The Winner Boost) in the Algorithm Name field.
-
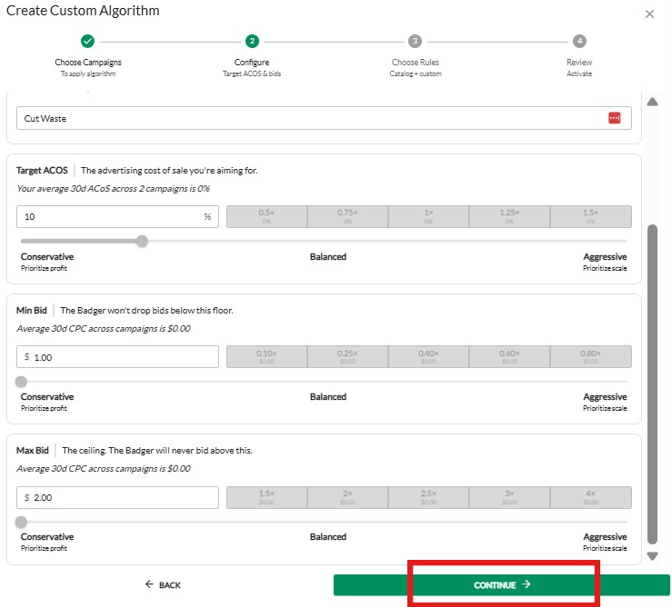
Set Target ACoS: Enter the advertising cost of sale percentage you are aiming for. You can also use the slider to adjust your strategy from Conservative (prioritize profit) to Aggressive (prioritize scale).
-
Set Bid Floor & Ceiling:
-
Min Bid: The absolute lowest amount the Badger is allowed to drop your bids to.
-
Max Bid: The ceiling price. The Badger will never bid above this value.
-
-
Click Continue.
Note: If your selected campaigns lack recent 30-day performance data, preset suggestion sliders will be disabled, but you can still input your preferred values manually.
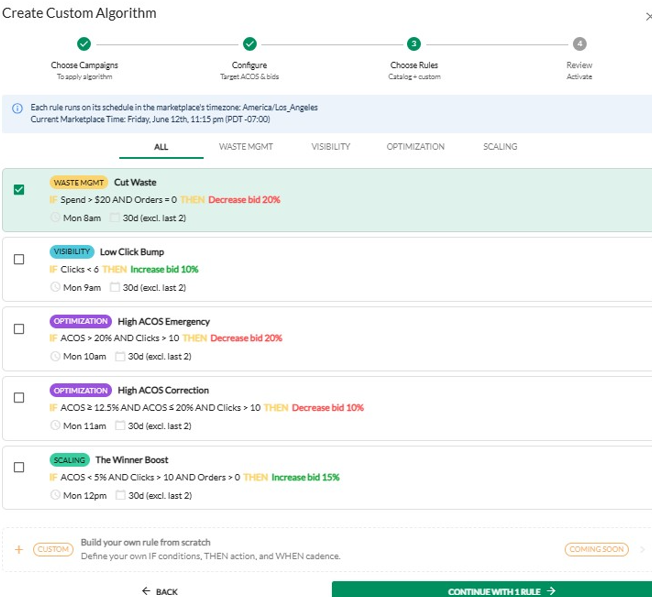
Step 4: Choose Your Rules
Select the logic that triggers a bid modification. You can choose from our catalog of pre-built strategy templates:
-
Waste Management (Cut Waste): Automatically lowers bids on targets that are spending money without generating sales.
-
Visibility (Low Click Bump): Safely raises bids on targets with very low click volume to test viability.
-
Optimization (High ACoS Emergency/Correction): Step-down bid reductions for keywords that are converting but exceeding your profitable ACoS thresholds.
-
Scaling (The Winner Boost): Increases bids on highly efficient, low-ACoS top-performers to maximize search volume.
Select your preferred rule card and click Continue with 1 Rule.
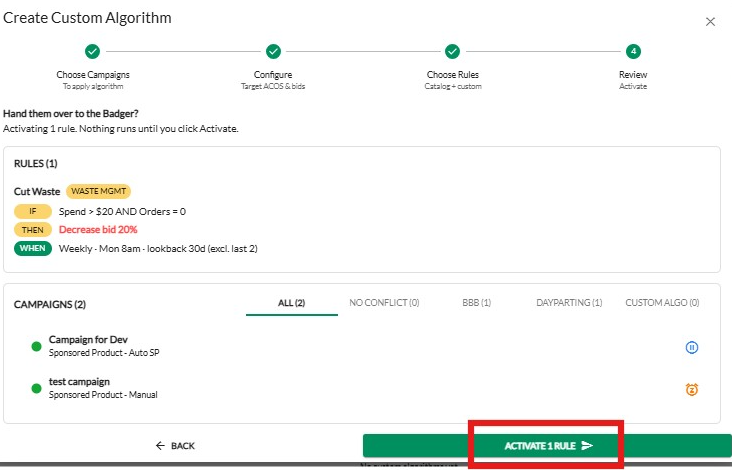
Step 5: Review and Activate
Take a moment to verify all parameters before letting the Badger run loose.
-
Review the Logic: Double-check your IF/THEN/WHEN logic statements (e.g., IF Spend > $20 AND Orders = 0, THEN Decrease bid 20%, WHEN Weekly - Mon 8am).
-
Review Campaign Targets: Ensure the correct campaigns are listed at the bottom of the summary page.
-
Click the green Activate 1 Rule button.
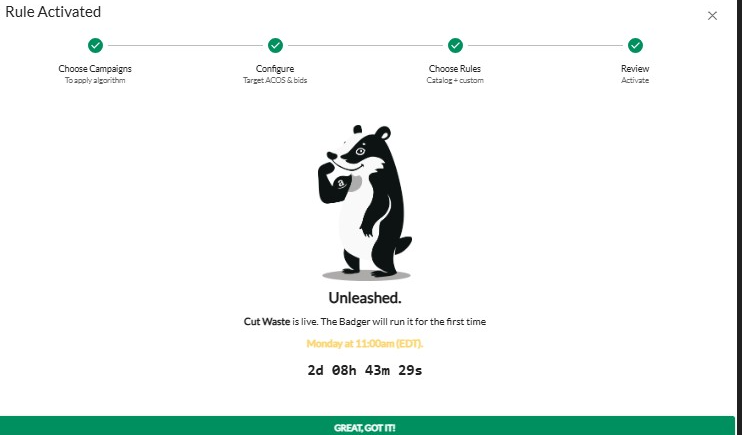
Success! Your Rule is Live
Once activated, you will see a confirmation screen featuring the Badger. The system will display a countdown timer indicating exactly when your custom algorithm is scheduled to run its first live optimization check based on your marketplace's timezone.
You can track all automated bid changes directly from the main Custom Algorithms dashboard graph.
Automatic Reset: Bids revert to their original value once a scheduled event ends—no "cleanup" rules required.
💬 Need Help?
Reach out to our Support Team anytime through the Live Chat bubble in the lower-right corner of the tool.